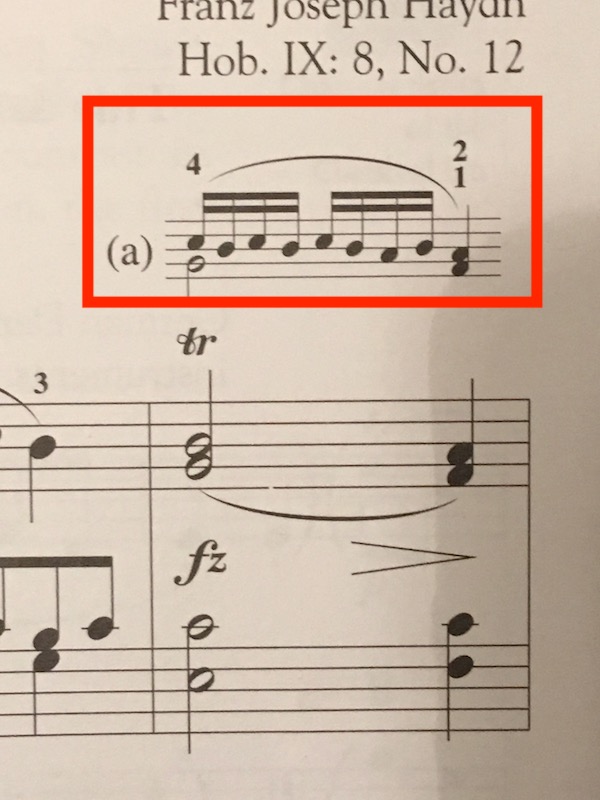
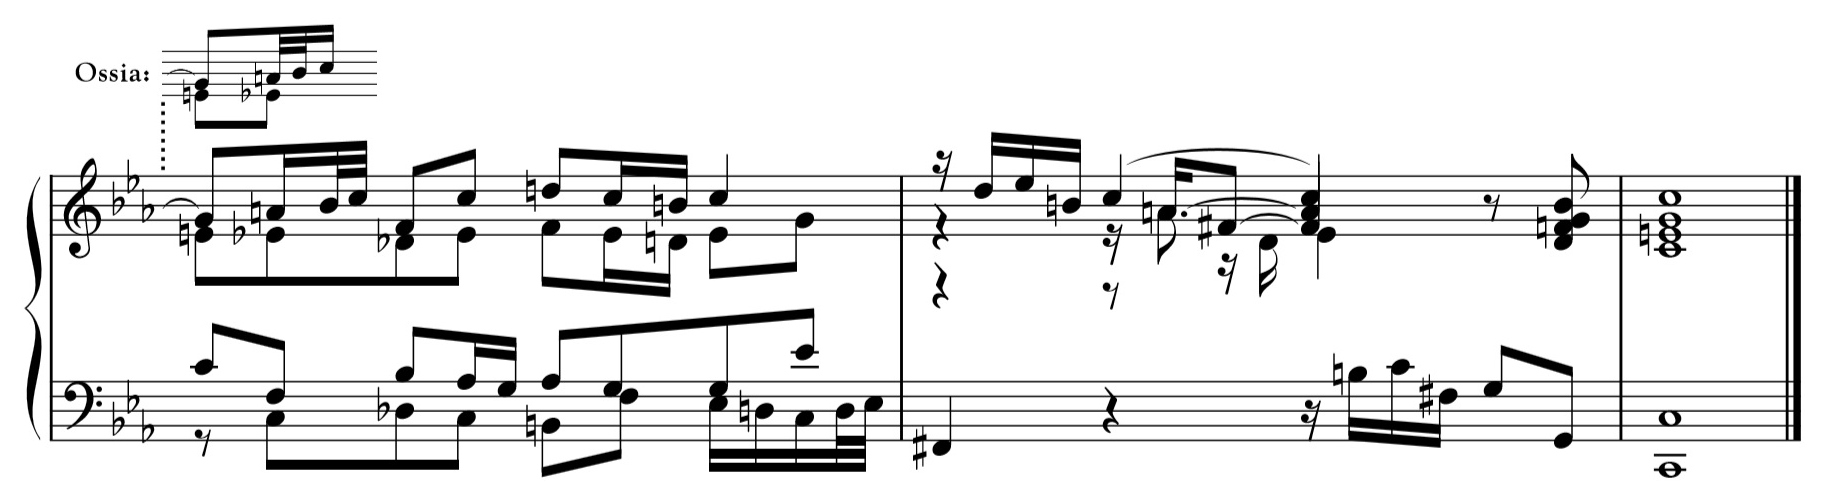
 I am making some transcriptions of Bach pieces and would like to include a written out explanation of the trills as in the example above. How do I accomplish this? I have the latest version of Finale (Finale 25) and am using macOS High Sierra.


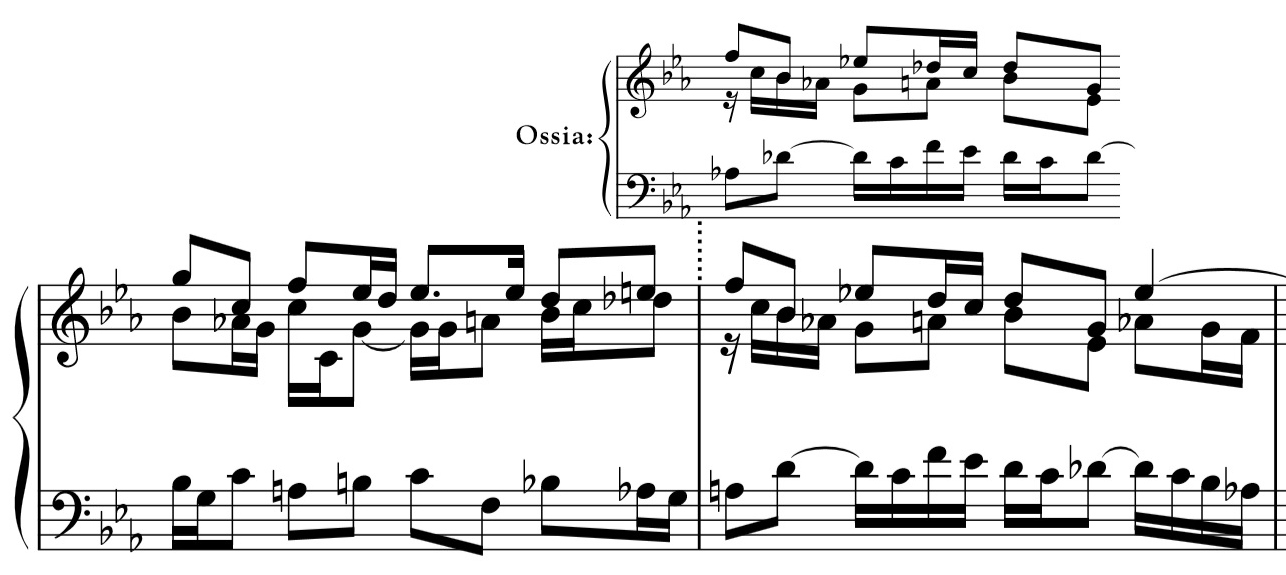
These are a form of Ossia. Lots of information in the Help files.
Once you’re familiar with the basic concept and how Finale handles it, feel free to ask questions. No reason to write a book when MakeMusic already did. Start here to read about Ossia and the Ossia Tool.
http://usermanuals.finalemusic.com/FinaleMac/Content/Search.htm?q=Ossia

Two other solutions (using other tools than the Ossia Tool):
1) If your document is going to contain many of these ossias, consider adding to the document an extra staff above.
You can hide this extra staff where you do not need it for an ossia (use the Staff Tool to hide the staff).
2) Another way - for a single ossia:
Create the ossia in another Finale document.
Use the Graphics Tool to export the ossia as a graphic - try a PDF graphic.
Then, import this PDF graphic into your Finale document (use the Graphics Tool).
 Thanks for the help! I mostly figured out how to notate my ornament. I used Peter's method of creating an extra staff and hiding it where I didn't need it. I tried the ossia tool, but the program only showed some of the ossias when I hid the scratch staff and it hid others. One more question - how do I get ride of extra barline to the left and right of the notes? I'd like to have just an eighth of an inch on either side.
There's a third way. Instead of using Peter's method (2) to create a single ossia, create all on a single Finale doc, separating each with a blank measure. Next (optional), remove all the bar lines.
From there you have two choices: The first is to export the export your entire Ossia doc using Graphics/Export as PDF and cutting the result in a graphics app such as Adobe In Design, Photoshop or Photoshop Elements. This works quite well on Mac or Windows.
The second and the easiest way I know on a Mac (sorry, Windows users) is to do some screen scraping using Preview.app, part of the OS and found in your Applications folder.
Again, create all of your Ossia in a separate Finale document and remove the bar lines. Display this doc on your screen at the smaller size you want vis-a-vis your main Finale doc.
Open Preview. From the File menu, scroll down to Take Screenshot and select From Selection... Click-Drag to draw a rectangle around any specific graphic but not including the bar lines. When you release the mouse, it will display a graphic that you may rename and save as any of 5 formats including ,jpg, .png or .pdf (default is .png). Do this as many times as you have Ossia to save. Now any or all of these can be dragged onto your main Finale doc and positioned as you like.
You should do a test run or two to get the sizing right but it's quite fast and very precise once you get the hang of it.

It kind of hurts to read this. I've had to make many an ossia in Finale and it has never been easy. The ossia tool is hopelessly buggy and limited, and all the other methods are workarounds which require a lot of time and trial-and-error. Is MM ever going to do anything about this? I'm sure they have more pressing matters than ossias, but read this excerpt from the Dorico manual and eat your heart out.
'To add an ossia, select the range over which you want the ossia staff to appear, then choose Edit ▸ Staff ▸ Create Ossia Above or Create Ossia Below. If you are writing for piano or another grand staff instrument, and require an ossia that shows both staves, select material on both the right- and left-hand staves before you choose Create Ossia Above or Create Ossia Below.'
That's it and it's the way it should be. You can easily alter existing ossias. There are settings for scaling, for where exactly the ossias appear, as well as for joining them to the main staff. About the latter:
'There are several conventions in use in published music for how barlines in ossias should be joined to the main staff to which they correspond: assuming an ossia both starts and ends at whole bar positions, some publishers join the ossia to the main staff both at the start and the end; others join the ossia only at the end; and still others do not join the ossia to the main staff at all.
When an ossia is joined to the main staff, some publishers use the same kind of barline as used for the other staves (typically a single barline), but others instead join the ossia with a dashed barline.
Dorico provides options to accommodate all of these conventions in the Ossias section of the Barlines page of Engraving Options.'
When I have to do certain tasks in Finale, I feel more and more like someone trying to start a car with a crank instead of a starter motor. Intelligent cues, automatically attractive lyric spacing, ease of creating multi-movement orchestral works, automatically beautiful layout and collision avoidance, intelligent articulation placement, and good accidental kerning are the tip of the iceberg of tasks which bog me down in Finale, and I'm not even mentioning the bugs.
Sorry for my rant. It's a painful observation after my having used and supported Finale for 26 years, but MM is falling seriously behind in the face of an increasingly better alternative. Even the presence of MM on this technically third-rate forum has been minimal in recent years and it makes one wonder what they're doing...
> and all the other methods are workarounds which require a lot of time and trial-and-error<
An incorrect assumption. Very little trial and error. Quite fast once you learn it if you're on a Mac. I process 1–3 dozen documents daily creating graphics in Preview and importing them into other files — that's a very small part of my music industry day job. I'm self-taught as it were because every other way was much, much slower.
 I figured out a couple of things:
1. The reason the ossia sometimes didn't appear is because I was adding it to the top staff rather than the main one.
2. After inserting an ossia, in order to get rid of the extra space on the staff that doesn't have notes, adjust the right offset to a negative number.
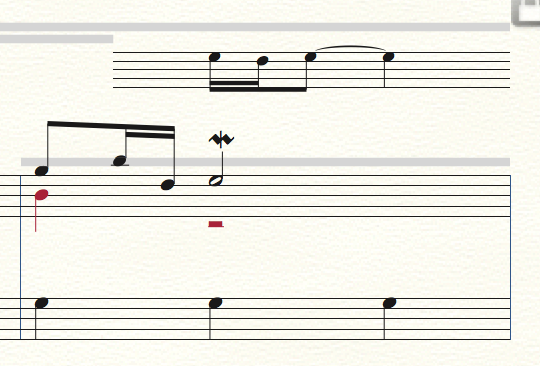
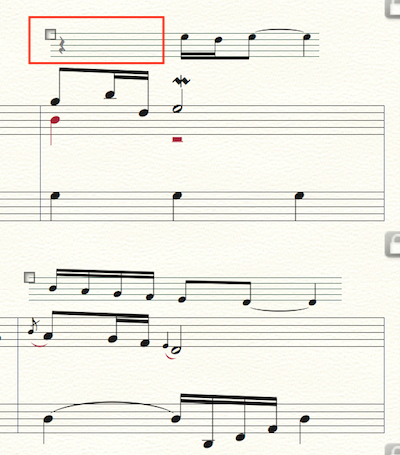
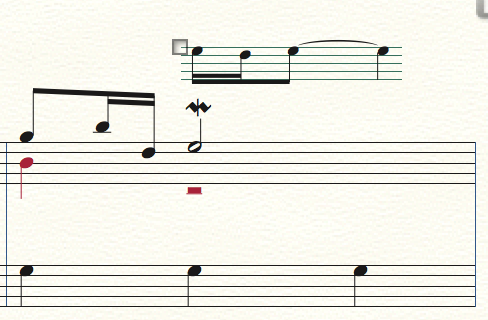
I now like how it looks when the Ossia is a full measure as in the lower measure of my example above. Is there a way to have an Ossia of a partial measure? I would like to delete the part in a red box.

For ossia, I use the 1st method PETER THOMSEN described using a combination of staff styles and shape expressions. This method ensures that the music is spaced properly between the actual music and the ossia. You can resize the staff more precisely using the "Resize Tool" as well.
To hide the space around an ossia, I create a rectangle in the shape designer and insert it into the measure as an expression.
Please sign in to leave a comment.
12 comments
Date Votes